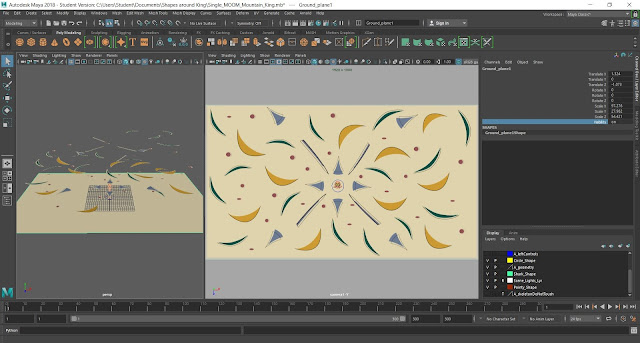
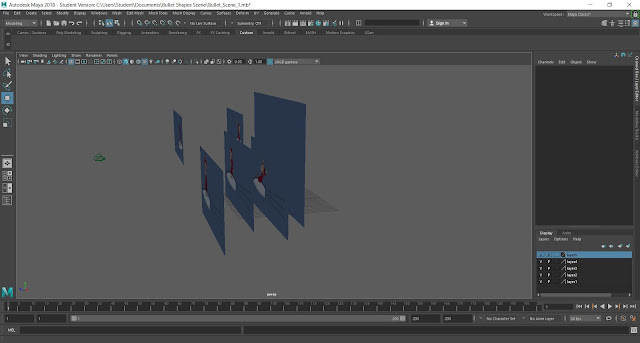
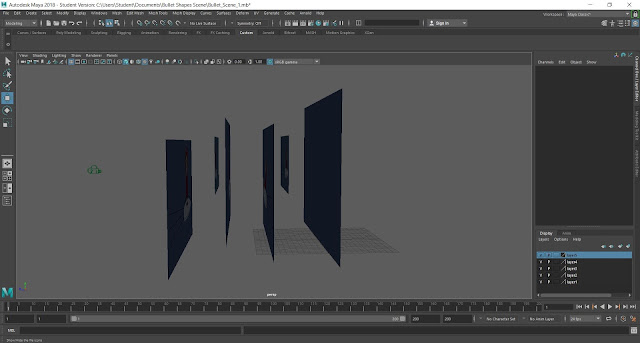
The first video is my Animatic and the two videos underneath I'm hoping to include in my Pre - vis. I have taken Phil's advice by continuing to layer my scenes to create more depth in my camera shots.
The Mountain King Surrounded by Shapes from
Jennifer Ball on
Vimeo.
 |
| Layering Shapes |
 |
| Layering Planes |
 |
| Layering Planes |


Hey Jen - the transformative power of that 3D camera move (in terms of the shot where the king is surrounded by the shapes) just proves the point for me that this is the approach you need to take more boldly throughout your animatic. You really do need to start investigating more of your shots in this same way - and considering two things: what the camera is doing and also what the individual assets are doing too. For example, if we just take that same shot as an example; so you've got the plunging camera, but if you were now to rotate each of those planes on which your different objects sit, you'll have movement 'into' the shot towards the king and also more movement as the objects circle around him. If you were to set one plane of objects going clockwise, and the next set going anti-clockwise (and so on until you've given all the different layers a rotation) you'll create a really busy effect. You can try other things to - in terms of different speeds for the different rotations - and then, you can consider 'blurring' the elements by different degrees on the different laters to create a sense of focus. For example, if you were to rotate the top-most layer fastest, and also add a motion blur, there would be a real sense of these elements being very close to the camera - creating what's known as the parallax effect:
ReplyDeletehttps://en.wikipedia.org/wiki/Parallax_scrolling
I would say that most/all of your shots need to be investigated in terms of layering/parallax - and also that you need to start thinking about some of those '2D set elements' as 3D props that can themselves be tilted, rotated and animated: they're super-simple elements obviously and once you've modelled and textured one you can duplicate them accordingly and arrange them in accordance with your scenes. I think one of the interesting things you'll need to work out is how your 2D forms translate into 'simple' 3D forms - for example how do you create one of those trumpet forms that also have an outline to it in 3D space - or are your objects 3D with an outline around them a bit like the 'rings around Saturn'?
So - your adventures in 3D-ing your space really emphasises the importance of moving all the way over that line and grabbing the potential of this lovely narrative space you've created for your self and your character.
Hi Phil, thank you so much for this useful feedback! I will work on layering all of my shots in my Previs, which I've already started working on. I will also begin to think about those 2D elements in a 3D space :)
Delete